Let’s just say the quiet part first. The hard thing about crow pose usually isn’t your arms. It’s the moment where you have to lean forward and put all of your weight onto your hands, and some very reasonable part of your brain says “you are about to land on your face.”
That part of your brain isn’t wrong. That’s the risk in crow. You can fall forward. So instead of pretending it won’t happen, I teach crow in a way that makes falling forward small and soft (and honestly kind of boring). Then the courage part gets a lot easier.
When I filmed my crow tutorial in Costa Rica, I had a whole family of monkeys in the tree above me the entire time. I was mostly worried they’d drop things on my head. That’s the energy I’d like you to bring to this. A little bit of play, not a lot of pressure.
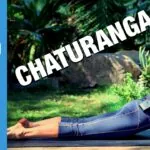
Set up your arms first: chaturanga arms
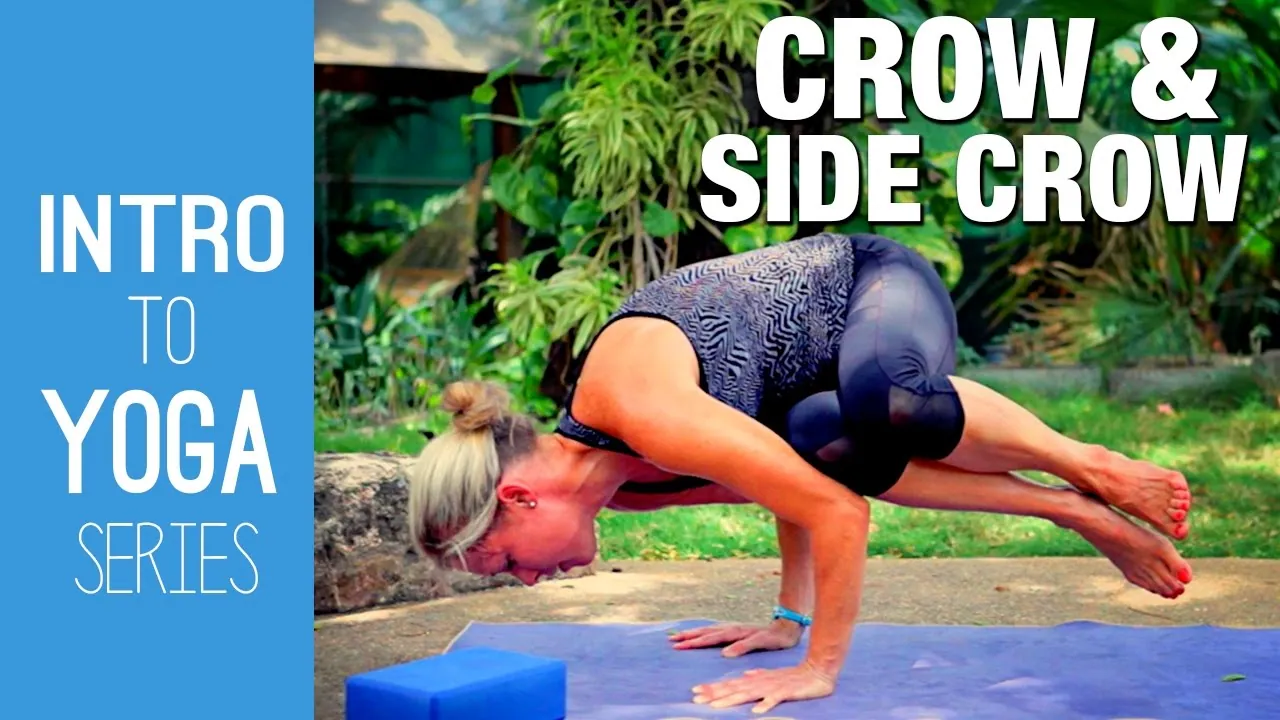
Crow (bakasana) is a hand balance, and you want a really solid foundation in your arms. The easiest way I can put it is that you want chaturanga arms for your crow. That’s a nice 90 degree angle from your elbow down to your wrist.
Plant your hands on the mat at shoulder distance apart. Spread your fingers wide and press into your palms. Then squeeze your elbows in so they don’t splay out to the sides. Once you’re in that shape, imagine your knees resting on the backs of your arms. Your bent arms make a little shelf, and the shelf is where your knees go.
Bring in some props
I think blocks are a great way to learn crow, because they get your hips lifted for you. If you don’t have blocks, a couple of books from around the house work too.
Stand on your blocks with your feet side by side. Take your hands to the floor and position your shoulders right over your wrists. Separate your knees and bring them onto the backs of your arms. From up there, you’re already in a crow shape with your feet still supported.
Now shift forward. Look past your hands and keep your hips lifted. Then stay right there. This is a great place to just work on your core strength and your courage. Maybe you lift one toe off the block. Maybe both. Then set your feet back down and play back and forth, getting a little more courage each time.
Once that feels easy, take one block away so you’re not as high, and do the same thing.
Make falling forward a non-event
If you do tip, you just kind of fall into your forehead. So while you’re learning, put some padding in front of you. A folded blanket works. If you don’t have one handy, double up your mat.
It sounds silly, but this one change is what takes away a lot of the fear. You aren’t trying not to fall anymore. You’re just practicing, with something soft where your head would land.
Get your knees high
The higher you can get your knees up the backs of your arms, even toward your armpits, the easier this posture is going to be.
It’s very common, and totally okay, to start with your knees way down by your elbows. That’s a great place to begin. As you practice, work them higher.
One practical tip that has nothing to do with yoga philosophy: if you’re hot and sweaty, wear pants that cover your knees instead of shorts. Sweaty knees on sweaty arms slide right off, and that’s a different kind of falling.
Lean forward and lift
Here’s the whole pose from the floor, in order.
- Come into a low squat with your toes and heels together.
- Hands at shoulder distance apart, fingers spread.
- Lift your knees high onto the backs of your arms.
- Rock your weight forward onto your hands.
- Look at the floor past your hands, not back toward the back of your mat.
- Engage your core and shimmy your toes off the floor. Maybe one foot first, maybe all ten toes at once.
- Squeeze your heels up and in and point your toes.
The gaze matters more than people expect. Your gaze helps your balance, and the second you look back toward your feet, your weight goes back with it.
If you’re not quite in crow yet, practice coming in and out, maybe one more toe off the floor each time. And if crow just isn’t in your practice today, no worries. Stay in your squat (malasana) with your hands at your heart. In my classes we all meet back there anyway.
Working toward crane
Once crow feels steady, you can start to straighten your arms. That’s crane. Bring your knees really high toward your armpits and hinge forward. Squeeze your toes and heels tightly together, then work toward straight arms while you keep your hips high.
It’s really challenging. When I filmed it, I got a tiny little cramp in my core right in the middle of explaining it, which is a pretty good reminder that crow is a core pose as much as an arm pose.
And if you eventually want to try jumping back from crow to chaturanga, I’ll be straight with you. If you can’t do chaturanga without your knees down yet, keep working on that first, because there isn’t really a modification for the jump back.
There are lots of different ways to get into crow. This is just the way I like to teach it, and I’ve found it’s accessible for a lot of students. I hope it works for you. And if it takes a while, you’re in good company. In one of my wall classes I come down out of a headstand into crow and call it “not my best looking crow,” and I left it in.
Practice it with me
- Crow & Side Crow Yoga Tutorial (12m 16s). The block method and the padding, plus side crow. Monkeys included.
- Crow Jump Back Yoga Tutorial (6m 41s). For when crow feels solid and you want the next step.
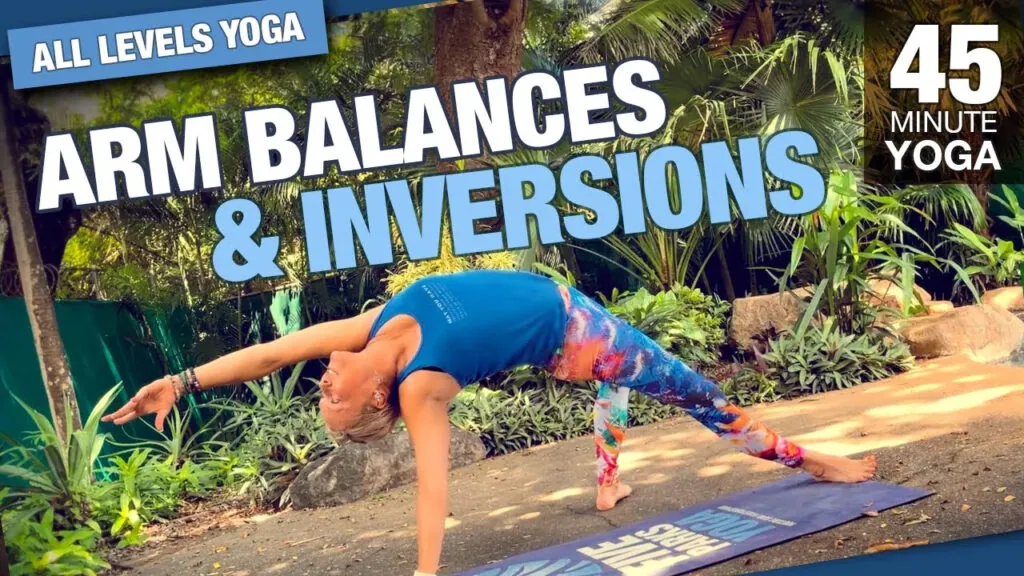
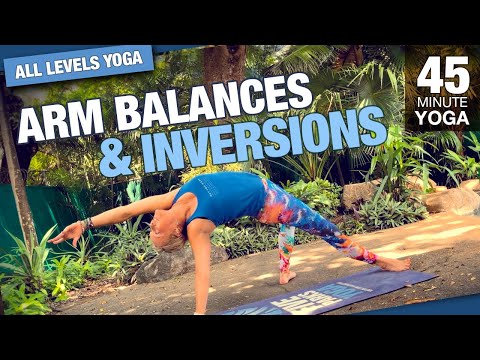
- Arm Balances & Inversions Yoga Class (42m 19s). A full class with crow, with a no-pressure squat option. It’s also part of my New Year’s 30 day challenge.
- Power Flow with Arm Balancing (48m 0s). Extra core work all the way through to prepare you for crow.
- Short & Sweet Vinyasa Flow (30m 15s). A quick crow hold, then back to your squat.
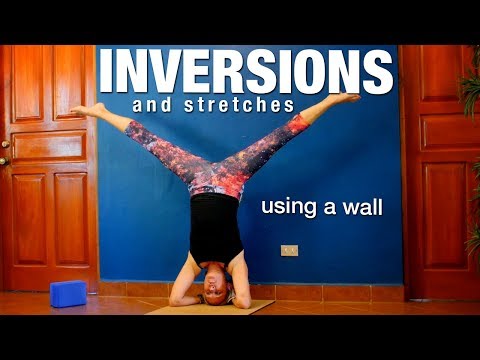
- Inversions & Stretches with a Wall (25m 56s). For when you’re ready to get braver.
Arm balances are always more fun with a group cheering you on. If you’d like to try them with me in person, come to our spring and November retreats in Nosara.
Practice it with me




Get new classes from Erin
Free classes, retreat dates and the occasional note. Unsubscribe any time.