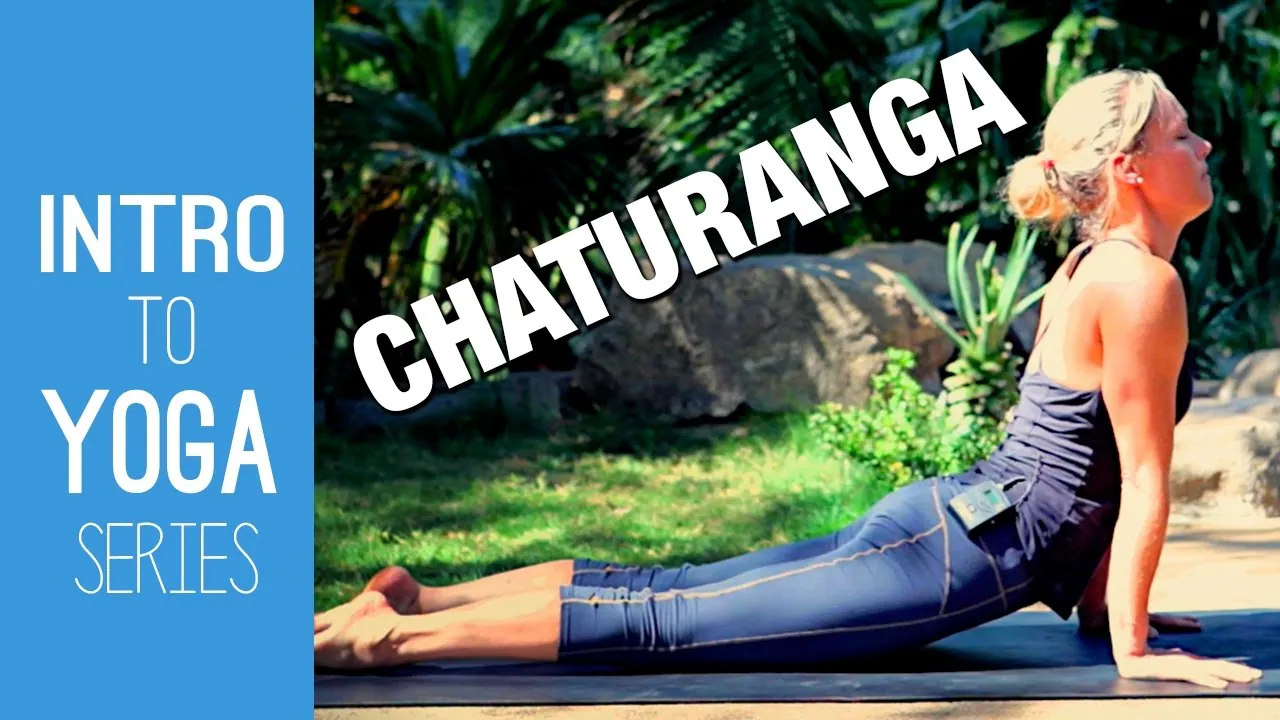
Chaturanga dandasana is lovingly known as the yoga pushup. If you practice a vinyasa or ashtanga style class, you’ll meet it over and over, usually somewhere between plank and upward facing dog. It takes a lot of tricep and upper back strength, and we usually move through it pretty quickly.
That speed is exactly why I want you to slow down and learn it. A lot of people who practice yoga a lot, and do chaturanga improperly, end up with an injury to the wrist or the shoulder. So of all the poses you could practice and work on your alignment in, I recommend this one first and foremost if you’re practicing a vinyasa style class.
There aren’t a lot of variations on chaturanga, but there are a lot of modifications. Let’s build it from the ground up.
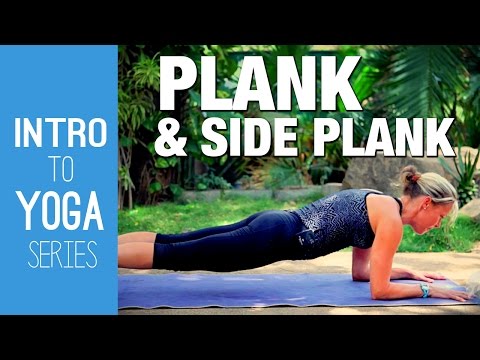
Start with a strong plank
We need a strong plank before we practice full chaturanga. Here’s how I set it up:
- Wrists right under the shoulders. Spread your fingers nice and wide and press your palms into the earth.
- Walk your feet back with your toes tucked under, feet in line with your hips and at hip distance apart.
- Heels over your toes.
- Head in line with your spine. Your chin is away from your chest, but it’s not lifted and it’s not tucked.
- Draw your belly button back toward your spine so your core is engaged and not just hanging out.
And watch for the things we want to avoid in plank:
- Sagging hips (very common as we build core and spinal strength)
- Hips too high
- Sagging or rounding shoulders
- Chin dropping to the chest
One more, and it’s a tendency of mine: hyperextending the elbows. Keep a nice soft, very slight bend in your elbows instead.
If you’re still building strength in your core, take your knees to the floor. Just don’t sacrifice the rest of your torso and your shoulders when you do. Your head stays in line with your spine and your core stays strong.
How to lower down, step by step
The key in the full expression of the posture is that the elbows stay in, and we use our triceps and the strength of our upper back to lower ourselves toward the floor.
- Come into your plank. Shoulders over wrists and feet in line with your hips. Keep your core strong.
- Shift forward. Your shoulders actually come a little past your wrists first, so you come up onto your tippy toes.
- Keep your chest nice and wide. Chin away from your chest. Look past your fingertips about two or three feet.
- Lower with your elbows in. They come back toward your ribs, grazing them as you go. Be patient with yourself here.
- Stop halfway. When you come halfway down, you want your arms to end up at about 90 degrees. You have to feel this out in your own body.
- Flip to the tops of your feet and press up into upward facing dog. In a flow, that’s the transition you’ll see.
If halfway feels like too much, it’s okay to lower all the way down onto the floor. Just try to avoid collapsing. Lower slowly.
Practice the arm action sitting down
Here’s something you can try without any weight on your arms at all. Sit up and reach your arms straight out in front of you. Now bend your elbows. What naturally wants to happen is that the elbows go wide. Instead, draw them in toward your ribs while your chest stays wide and lifted.
Elbows come in, chest stays wide. Do it a few times.
Modifications that protect your shoulders
Knees down. The most common modification is simply taking your knees to the floor, like a modified plank. You still shift forward so your shoulders come slightly past your wrists, and then you lower down, halfway with arms at 90 degrees or all the way to your chest. It still takes a ton of strength.
Use a strap. Make a big loop in your strap and place it around both arms, right above the elbows, sized so your elbows can’t come wider than shoulder distance apart. Then come into plank and lower. The strap is going to tell you when to stop, and it’s going to hold your elbows in. The strap can support your weight at 90 degrees, so you can feel the alignment before you have all the tricep strength you need.
Hands wider if you have a shoulder injury. If you have a shoulder injury and elbows in are not working for you, I do support the idea of having your hands wider than shoulder distance apart. Knees come to the floor, and as you lower down the elbows come out and you go all the way down onto your chest. It’s not the traditional chaturanga, but you’re taking a little pressure out of the shoulders.
Skip it. In my power classes I tell you this: if you get fatigued or your shoulders bother you, just skip your chaturanga. We’ll meet back in down dog. And if your wrists or shoulders need a real break, I have a whole flow with no planks or chaturangas at all.
If you’re working with an injury, check in with your doctor or physical therapist about what’s right for your body.
Common chaturanga mistakes
- Elbows flaring wide. This is what naturally wants to happen. Draw them back toward your ribs.
- Rounding the upper back. As you come down, watch your shoulders. Instead of staying away from your ears, they round and hunch, usually to make up for a little weakness in the triceps or upper back. It might feel a bit easier, but stay long and keep your chest lifted.
- Skipping the shift forward. It’s one of the keys to the pose. Come up onto your tippy toes so your shoulders move past your wrists before you lower.
- Jumping back into straight arms. If you float or jump back from your forward fold, land with bent arms. Don’t jar your elbows or your shoulders by landing with straight arms. You’re landing in chaturanga, not plank.
Want more heat? Try one foot
If you’re feeling strong and want more heat, try eka pada chaturanga, simply lifting one foot off the floor. It’s the same motion. Shift forward and draw your elbows in while your chest stays nice and wide.
Practice it with me
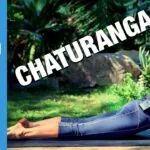
- Chaturanga Yoga Tutorial, Intro to Yoga Series (15m 50s). The full breakdown, strap and all.
- How to Safely Do Plank & Side Plank, Intro to Yoga Series (12m 5s). Build the plank that chaturanga depends on.
- Warrior & Sun Salute Yoga Tutorial, Intro to Yoga Series (30m 57s). See chaturanga in context in a sun salutation.
- 35 Min Complete Vinyasa Flow Yoga Class (39m 4s). Practice halfway down with elbows grazing the ribs.
- Intense Flow with No Planks or Chaturangas (Wrist Free Yoga) (49m 24s). For days your wrists or shoulders need a break.
FAQ
Should my elbows go in or out in chaturanga?
In. In the full expression of the posture the elbows stay in and come back toward your ribs. The exception is a shoulder injury: if elbows in aren’t working for you, take your hands wider than your shoulders with your knees down. Then let the elbows come out as you lower.
How low should I go?
Work toward halfway, with your arms at about 90 degrees. You can also lower all the way down onto the floor, slowly, without collapsing.
Is chaturanga with knees down still worth doing?
Yes. It’s the most common modification and it still takes a ton of strength. You keep the shift forward and the same alignment.
Why do I need to shift forward first?
Shifting forward so your shoulders come past your wrists is one of the keys to chaturanga. You come up onto your tippy toes with your chest wide, and then start to lower.
What if chaturanga hurts?
Skip it. If you get fatigued or your shoulders bother you, meet back in down dog. And if it keeps bothering you, check in with your doctor.
Pose by pose: Chaturanga, Plank. Or browse all 50 poses in the Five Parks Yoga pose library.
Practice it with me



Get new classes from Erin
Free classes, retreat dates and the occasional note. Unsubscribe any time.