People come to arm balances thinking it’s all about arm strength. Then they try crow for the first time and discover their arms were never the problem. Their core was.
I’m not saying that to scare you off. I’m saying it because it’s good news. Your core is something you can build a little at a time, in poses you already know. And one of the best ones is side plank (vasisthasana). It asks your obliques and your whole core to hold you up on one hand, which is exactly the job your core does when you balance on two.
In my most recent arm balance class, the one building up to hurdler’s pose, I put it this way. Connecting with your core strength is imperative in arm balancing postures. Everything else sits on top of that.
How to set up side plank
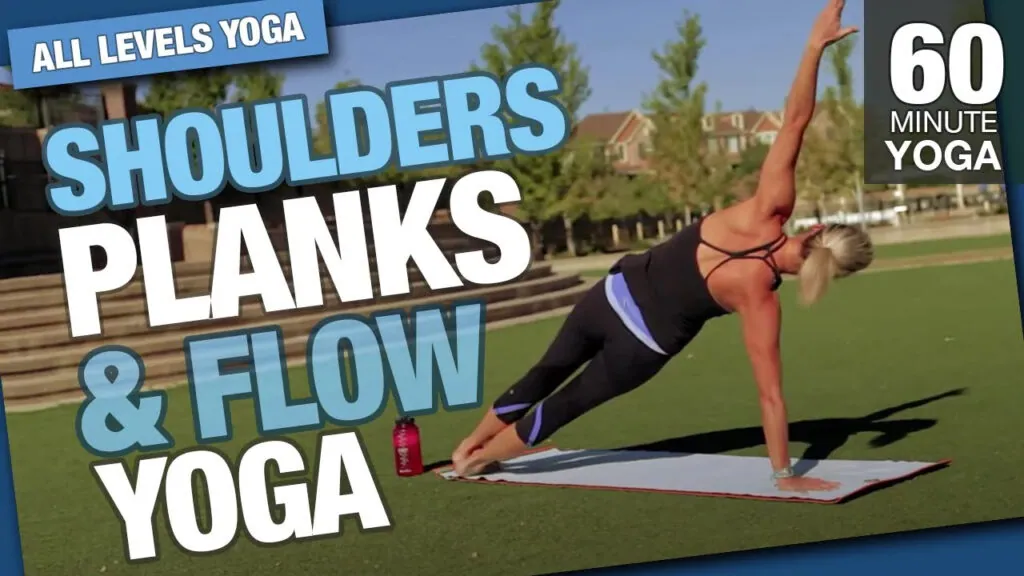
Start in a high plank. A nice way to go into side plank is to draw your feet together first.
- Stay on one hand, with your shoulder right over your wrist.
- Roll onto the outer edge of your bottom foot so your feet are stacked.
- Lift your hip off the floor.
- Extend your top arm straight up, palm facing out.
What you’re after is a stack, top to bottom, so you make one long line from your shoulder through your hip to your ankle.
What to avoid
- **Hunching your shoulders.** Keep space between your shoulder and your ear.
- **Rounding or rolling your hips.** Your hips stay stacked, not tipping forward or back.
- **Hyperextending your elbow.** This is a tendency of mine, and I catch myself doing it in my own tutorial. Keep a soft, very slight bend in the elbow of your standing arm.
The modifications (please actually use them)
There are a multitude of modifications for side plank. Start with your feet, since they’re the easiest to change.
**Stagger your feet.** Instead of stacking them, put one in front of the other. It’s a little more supportive for your balance.
**Top foot to the floor.** Place your top foot on the floor in front of you, with that knee directly over the ankle. It’s a great modification and it takes a lot of weight out of your arm.
**Bottom knee down.** Bring your bottom knee to the floor and position yourself so your hip is over your knee. Your arm is still straight up and your top leg is still long. You’re still working toward one long line.
**Forearm side plank.** If you have wrist issues, come onto your forearm instead of your hand. Bring your forearm parallel to the front of your mat, spread your fingers wide, and keep your shoulder right over your elbow. It’s a great modification and a challenging pose in its own right.
I highly recommend practicing these modifications even if you can do the full pose. One day you’ll nail side plank, and the next day your wrist feels a little tweaky or you’re just more tired. If you already know your options, you can still practice your whole class.
Turn side plank into core work
Once you can hold side plank, you can start asking more of it. A few of the ways I do that in class:
**Hip dips.** In side plank, very gently lower your hips toward the floor without touching, then lift them back up. That builds strength in your obliques and your entire core. In the class where I teach these, I lose my balance partway through, and by the last few reps I’m shaking like a leaf. You can always stagger your feet for more balance.
**Elbow to knee crunches.** Reach your top arm forward, then draw your elbow and your top knee toward each other and extend back out. I do this from a full side plank, and from a modified side plank where your bottom knee is down and your top foot kicks out to the side.
**Forearm side plank hip taps.** From forearm side plank, tap your bottom hip toward the floor and lift. Small move, big burn.
How this leads to arm balances
Here’s the connection I want you to make. In side plank you’re learning to press the floor away with one arm while your core keeps your body in one line. In crow, your knees rest on the backs of your arms, and your core is what lifts your feet and keeps your hips high. When I filmed my crow tutorial I got a little cramp in my core right in the middle of it, which tells you where the work really is.
So in my arm balance classes, I put an extra emphasis on core work all the way through. One of my favorites is from a three-legged dog. Draw your knee to your nose and lift your bottom heel to round your spine. Then bring your shoulders over your wrists. That rounded, pulled-in shape is a lot like the shape of crow.
One of the key benefits of practicing arm balances is the chance to get past the limits we set for ourselves, by practicing them a little at a time. Side plank is a pretty great place to start that.
Practice it with me
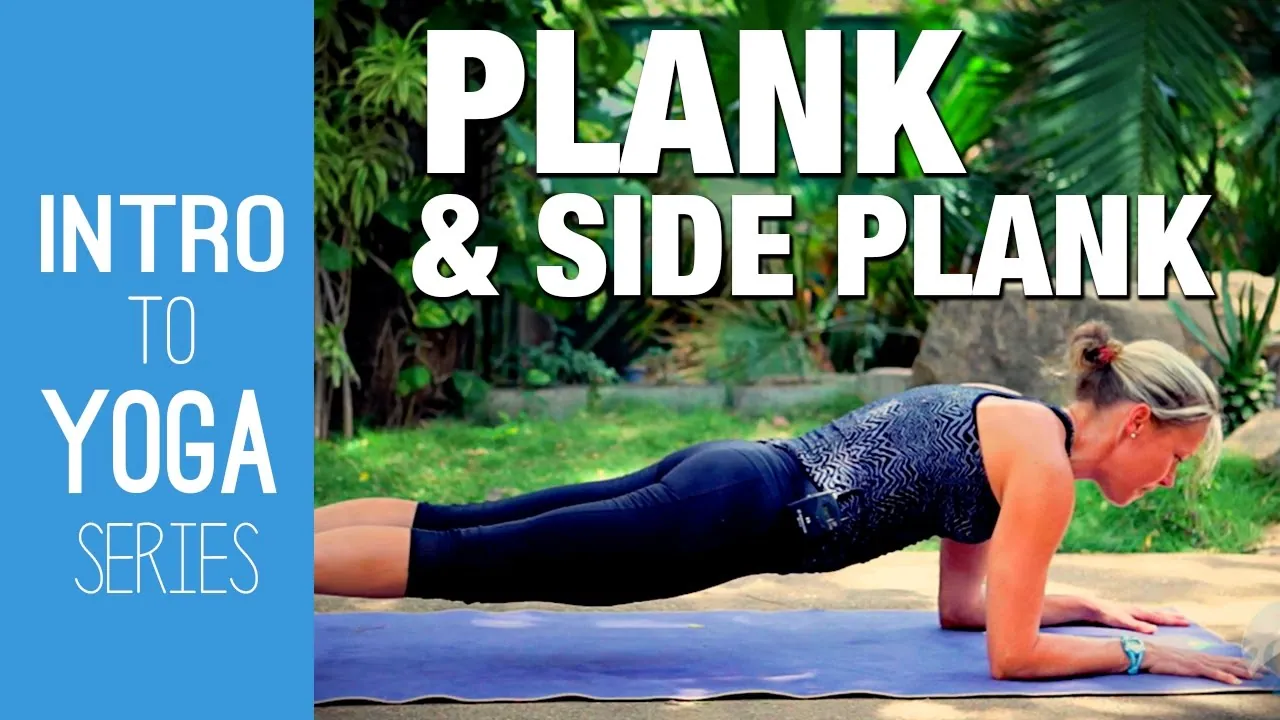
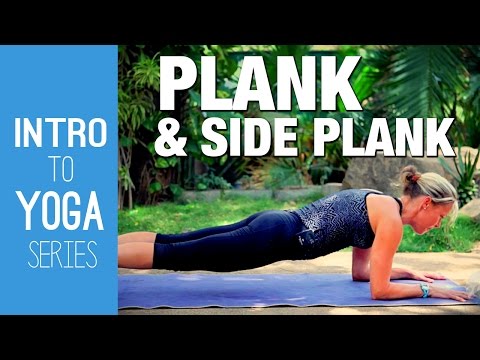
- How to Safely Do Plank & Side Plank (12m 5s). From my Intro to Yoga Series, with every modification above.
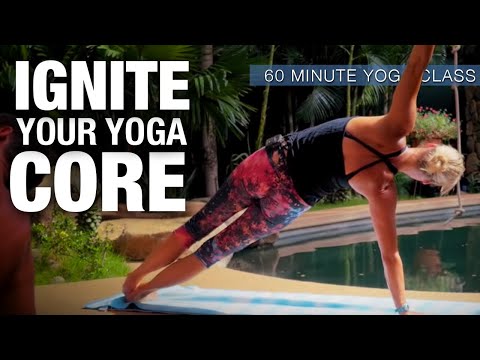
- Ignite Your Core (1h 2m 34s). The hip dips where I lose my balance and shake like a leaf. It’s part of my 30 Day Athletes Yoga Challenge.
- Core Awareness Yoga Class (34m 16s). Modified side plank crunches from your knee.
- Plank-Infused Vinyasa (1h 5m 44s). Lots of plank and side plank holds, with the knee down option always there. It’s one of the classes in my New Year’s 30 day challenge.
- Side Plank with Big Toe Hold, Peak Pose Class (45m 53s). For when regular side plank feels steady.
- Power Flow with Arm Balancing (48m 0s). Core work all the way through, then arm balances.
- Master Hurdler’s Pose (1h 1m 49s). My newest arm balance class.
Practice it with me


Get new classes from Erin
Free classes, retreat dates and the occasional note. Unsubscribe any time.